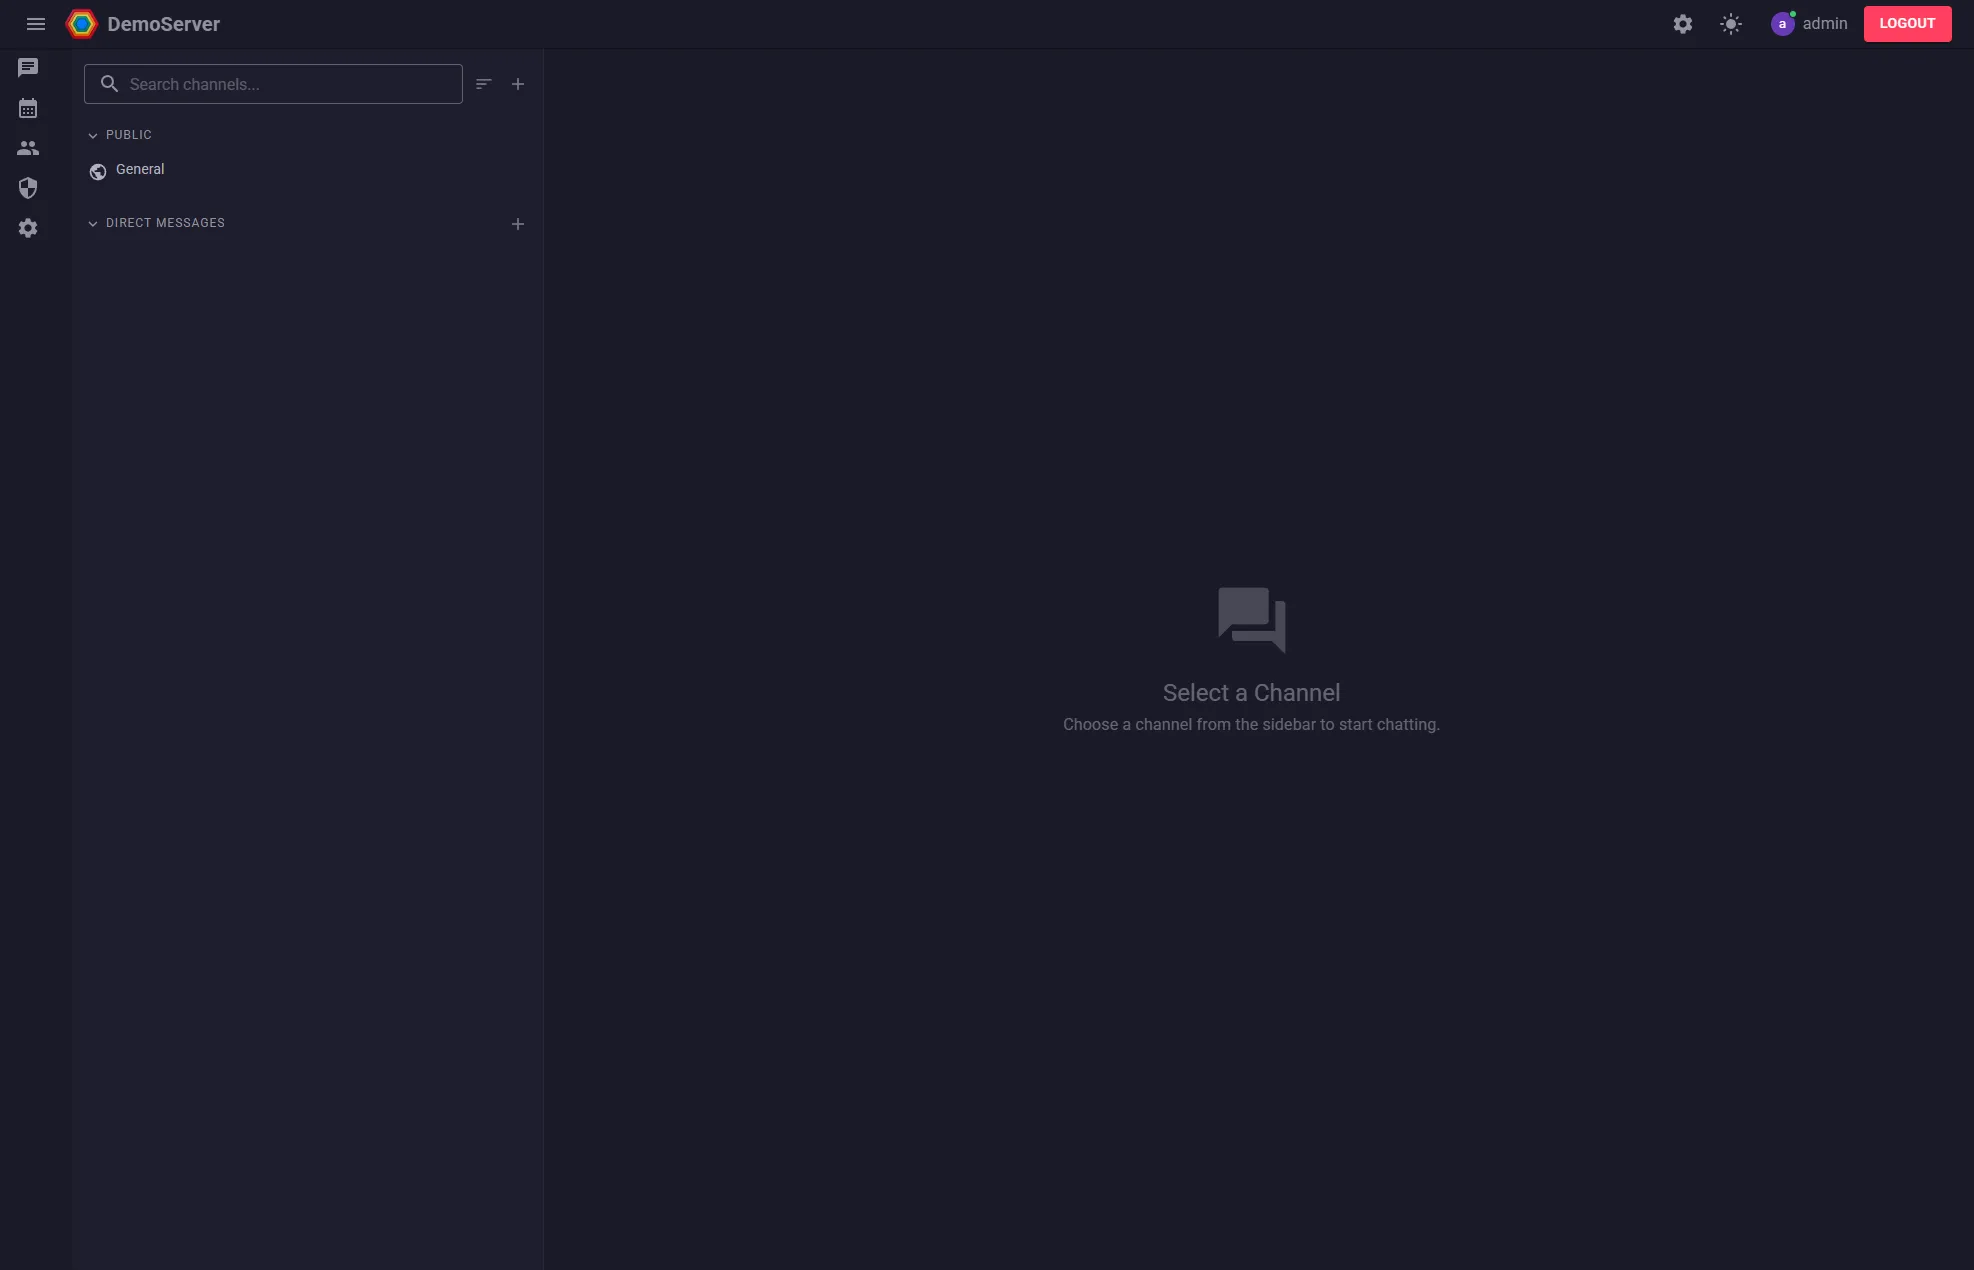
The Setup Wizard
Once your container is running, navigate to its local Web UI using your browser (e.g., http://<your-server-ip>:8080). You will be redirected to the Setup Wizard.
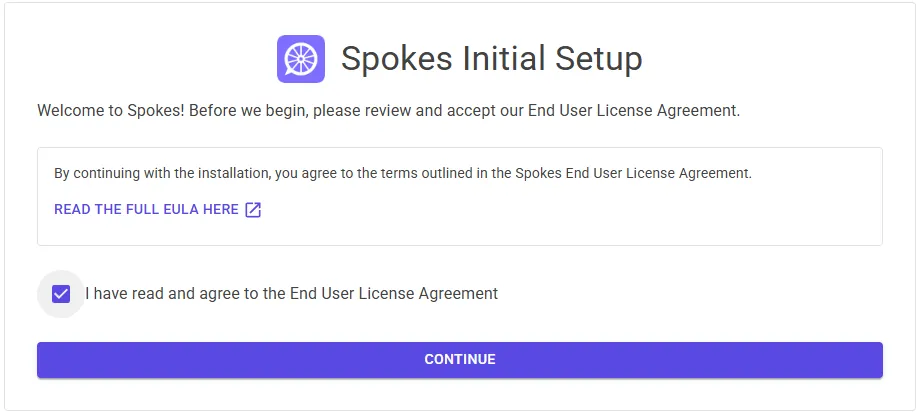
Step 1: EULA Agreement
Section titled “Step 1: EULA Agreement”Review and accept the End User License Agreement to continue.
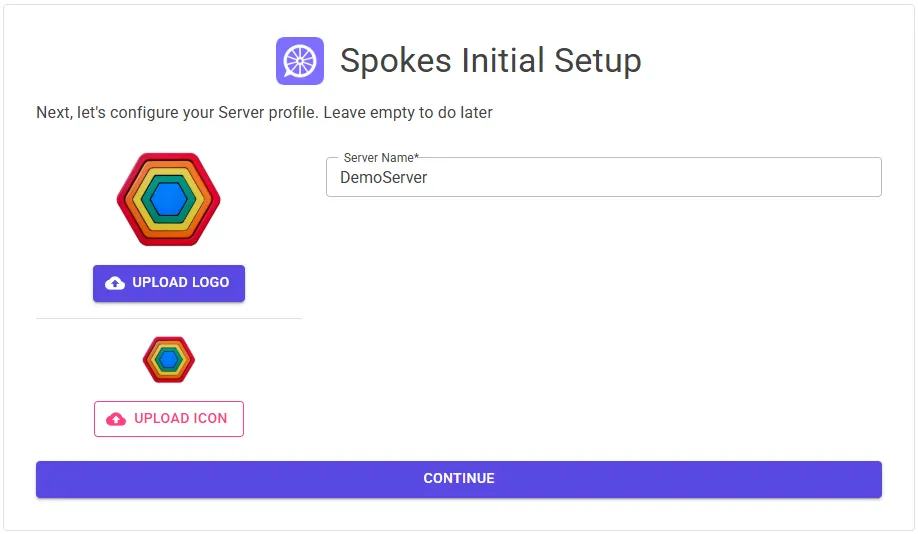
Step 2: Server Profile
Section titled “Step 2: Server Profile”Choose your server’s name and upload your branding.
- Server Name: The name displayed to users.
- Logo: Used inside the app (should be fairly high-res).
- Icon: Used as a favicon for the browser.
You can upload the same file for both the logo and icon. Note: This can all be done in the settings later, so you can leave it empty for now.
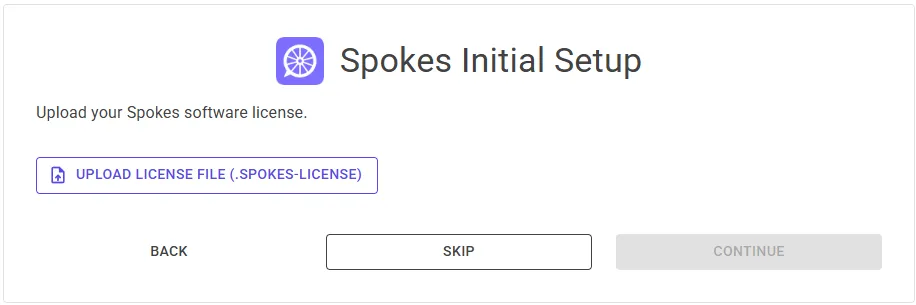
Step 3: Licensing
Section titled “Step 3: Licensing”Spokes comes with a 2-month free trial. During the trial, the app is fully featured and is not limited in any way.
Once the trial ends, the app remains fully featured, but you will lose the ability to update your server to newer versions. You are free to keep using the trial version forever. If you want to continue receiving updates, you can purchase and upload a .spokes-license file.
For now, you can press SKIP.
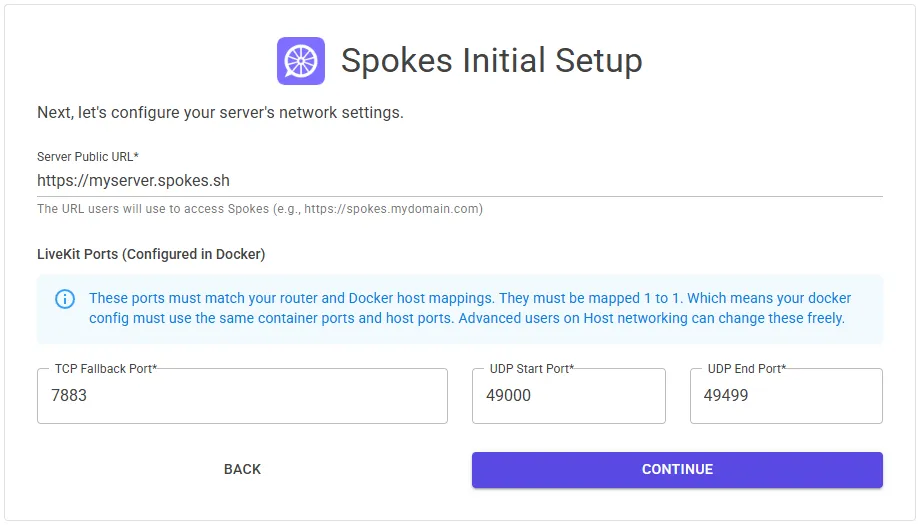
Step 4: Network Setup
Section titled “Step 4: Network Setup”Configure your network so voice and video features work correctly.
- Server Public URL: Set your server’s public URL (e.g.,
https://spokes.yourdomain.com). - LiveKit TCP Fallback & UDP Range: Set the same port numbers you chose in your container/deployment configuration.
Step 5: Identity Provider Setup
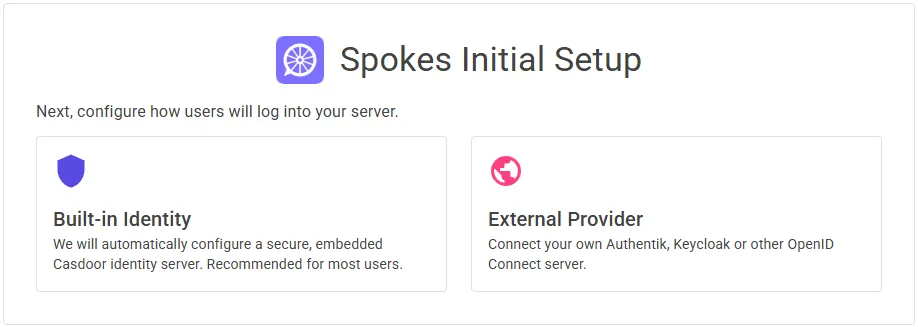
Section titled “Step 5: Identity Provider Setup”Choose how users will authenticate with your Spokes server.
- Built-In Identity: Spokes offers a zero-configuration identity solution by bundling an embedded instance of Casdoor. It is highly customizable and can act as an identity provider for other apps you self-host. If you do not have your own identity provider, choose this option.
- External Provider: If you already have your own identity provider setup (like Authentik, Authelia, Keycloak, etc.), choose this option.
Option A: Built-in Identity Setup
Section titled “Option A: Built-in Identity Setup”If you selected the built-in identity, you must configure the administrator accounts. Casdoor has 2 layers of Administration: the global organization, and the Spokes organization.
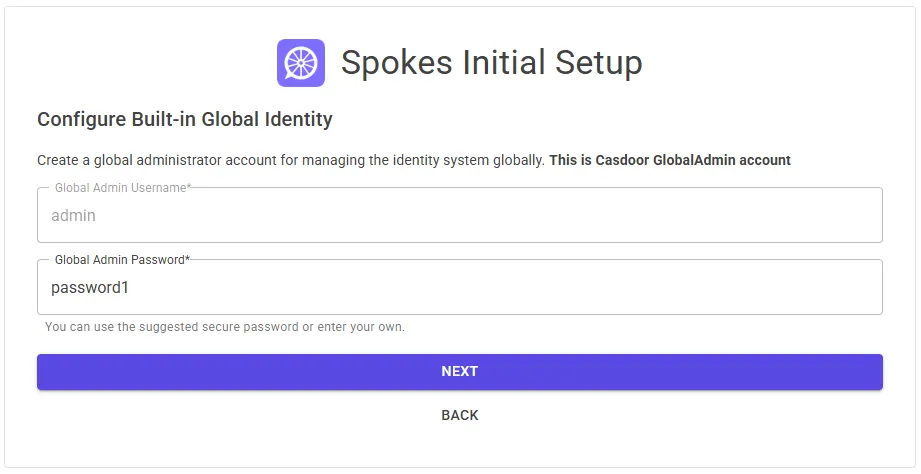
Global Admin Setup
Section titled “Global Admin Setup”Set a secure password for your global admin account. This account can access everything in Casdoor. (In practice, you rarely have to use this account).
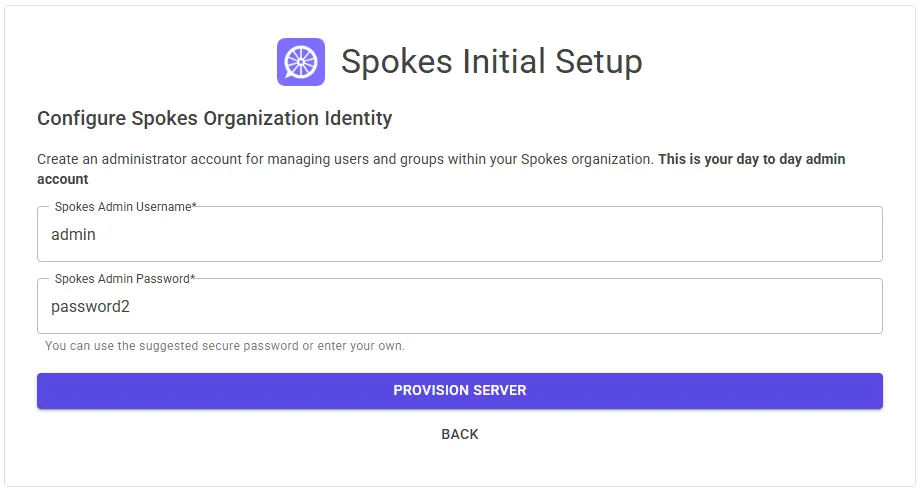
Spokes Admin Setup
Section titled “Spokes Admin Setup”This is the admin account for the Spokes organization in Casdoor, and is also your primary Admin account in Spokes itself. Set your username and secure password.
Option B: External Provider Setup
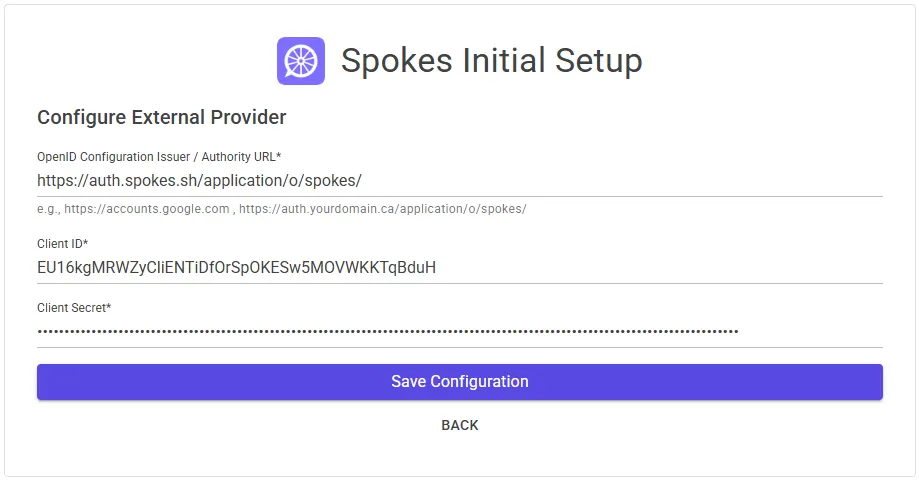
Section titled “Option B: External Provider Setup”If you chose an external identity provider, configure your OIDC client settings here.
Step 6: Completion
Section titled “Step 6: Completion”Make sure you have saved your passwords and credentials somewhere safe.
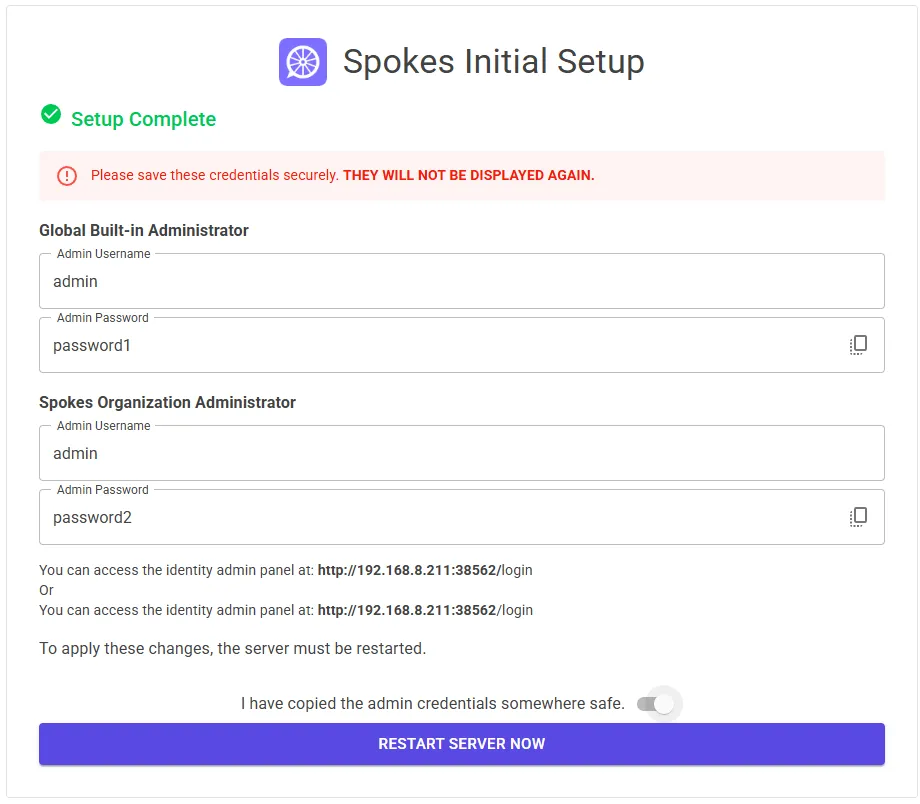
Click on Restart Server Now.

Welcome to Spokes
Section titled “Welcome to Spokes”You will be redirected to the login page. Log in to your Spokes server using your Spokes admin account.
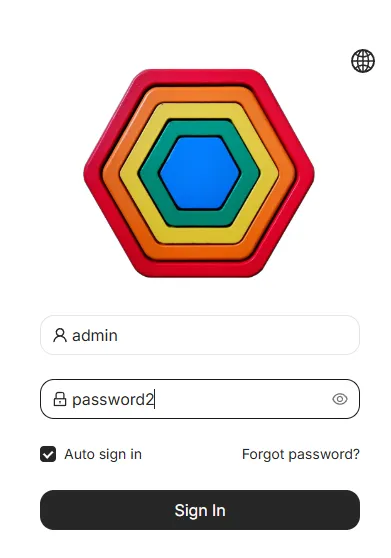
Congratulations, your server is ready!